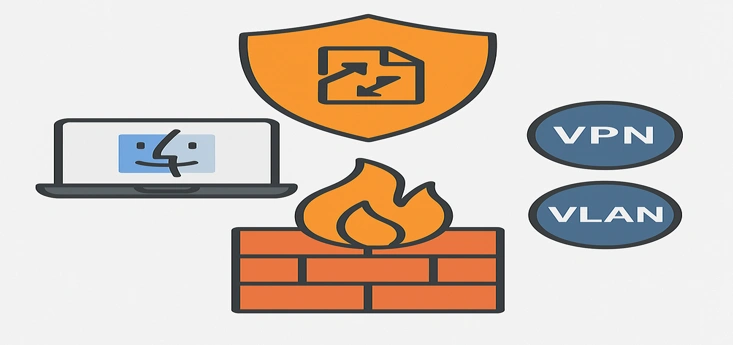
Warpinator works great on local networks. But what if devices are not on the same LAN? You can use it over VPN or VLAN with a few tweaks. This guide shows how to make it work securely.
Warpinator Compatibility – VPN and VLAN Comparison Table
| Method | Discovery Support | Manual IP Required | Extra Config Needed | Best Tools |
|---|---|---|---|---|
| Local Network | Yes (mDNS) | No | None | Warpinator default setup |
| VPN (Tailscale/ZeroTier) | Partial | Sometimes | Install client, allow traffic | Tailscale, ZeroTier |
| VPN (OpenVPN/WireGuard) | No | Yes | Enable client-to-client, allow UDP | OpenVPN, WireGuard |
| VLAN | No | Yes | Add peer IPs manually | Router VLAN config |
What is VLAN
A VLAN (Virtual Local Area Network) is a way to separate devices on the same physical network into isolated groups. This improves security and control by preventing direct communication between VLANs unless explicitly allowed. Since Warpinator relies on local broadcast traffic for device discovery, it may not work across VLANs by default. To fix this, you can manually add the IP address of the remote device in Warpinator’s settings.
What Warpinator Needs
Warpinator uses:
- UDP 42000 for discovery
- TCP 42000 for file transfers
- mDNS/multicast to find peers
These don’t always work across VPNs or VLANs. We need to solve that.
Using Warpinator Over VPN
VPNs isolate traffic by default. We’ll bridge that isolation.
Option 1: Use a Bridged VPN
Use ZeroTier, Tailscale, or WireGuard with subnet routing.
Steps:
- Install Tailscale on both devices.
- Log into the same Tailscale account.
- Enable subnet routing if needed.
- Check if devices see each other.
- Manually enter IPs in Warpinator if discovery fails.
Option 2: OpenVPN with mDNS Support
- Set OpenVPN to allow broadcast and multicast.
- Use –client-to-client in server config.
- Forward UDP port 42000.
- Allow avahi traffic through the VPN tunnel.
Using Warpinator Over VLAN
What’s the problem?
Most VLANs block broadcast/multicast. That breaks discovery.
Solution: Manual IP Entry
- Find the target device’s VLAN IP.
- Open Warpinator.
- Go to Settings > IP Restrictions.
- Add the device’s IP manually.
Now Warpinator should connect.
Additional Tips
- Disable firewalls on both devices temporarily (for testing).
- Make sure both devices are in the same Warpinator group.
- Use the latest version of Warpinator.
- Enable debug logs if it fails.
Security Warning
When using VPN or VLAN:
- Only share with trusted devices.
- Limit allowed IPs in Warpinator.
- Use a firewall to restrict traffic.
How to Use Warpinator Over VPN or VLAN on Ubuntu
1. Install Warpinator
sudo apt install warpinator
Or install via Flatpak:
flatpak install flathub org.x.Warpinator
2. Setup VPN (Tailscale Recommended)
curl -fsSL https://tailscale.com/install.sh | sh
sudo tailscale up
- Log into the same Tailscale account on both devices.
- They’ll get private IPs (e.g.
100.x.x.x).
3. Configure Warpinator for VPN
If devices don’t auto-discover:
- Open Warpinator → Settings > IP Restrictions
- Add the Tailscale/VPN IP of the other device manually
4. VLAN Setup Notes
- Devices on separate VLANs can’t see broadcasts.
- Find the peer IP address using
ip aor check the router DHCP list. - Add that IP manually in Warpinator settings.
5. Open Required Firewall Ports
Allow on both devices:
sudo ufw allow 42000/udp
sudo ufw allow 42000/tcp
6. Test Transfer
Send a file from one device.
Check that speed is normal and connection is stable.
How to Use Warpinator Over VPN or VLAN on macOS
⚠️ Important Note
Warpinator is not officially supported on macOS, but you can use unofficial ports via Homebrew or Flatpak. Results may vary depending on your system and network configuration.
1. Install Warpinator on macOS
Option 1: Flatpak (Recommended)
- Install Homebrew if not already:
/bin/bash -c "$(curl -fsSL https://raw.githubusercontent.com/Homebrew/install/HEAD/install.sh)"
- Install Flatpak:
brew install --cask flatpak
- Add Flathub and install Warpinator:
flatpak remote-add --if-not-exists flathub https://flathub.org/repo/flathub.flatpakrepo
flatpak install flathub org.x.Warpinator
2. Connect VPN (e.g., Tailscale or ZeroTier)
- Install Tailscale on your Mac.
- Log into the same account on all devices.
- Confirm that all devices are connected and have private Tailscale IPs.
3. Manual Peer IP Setup in Warpinator
Because multicast may fail over VPNs or VLANs:
- Open Warpinator.
- Go to Preferences > IP Restrictions.
- Add the remote device’s Tailscale or VLAN IP.
- Save and restart the app if needed.
4. Check Firewall and Permissions
- Go to System Settings > Network > Firewall.
- Allow Warpinator if macOS prompts for permission.
- Advanced users may configure
pfctlfor port-level access.
5. Test and Send a File
- Ensure both devices are online and visible.
- Try sending a small file to confirm it works.
- Check IPs, firewall settings, or VPN connection if it fails.
Now you can use Warpinator beyond your LAN. Whether over VPN or VLAN, it’s possible with a few changes.